 Fynchat
Send Your First Campaign
A step-by-step guide to creating your first template and sending a campaign to your contacts.
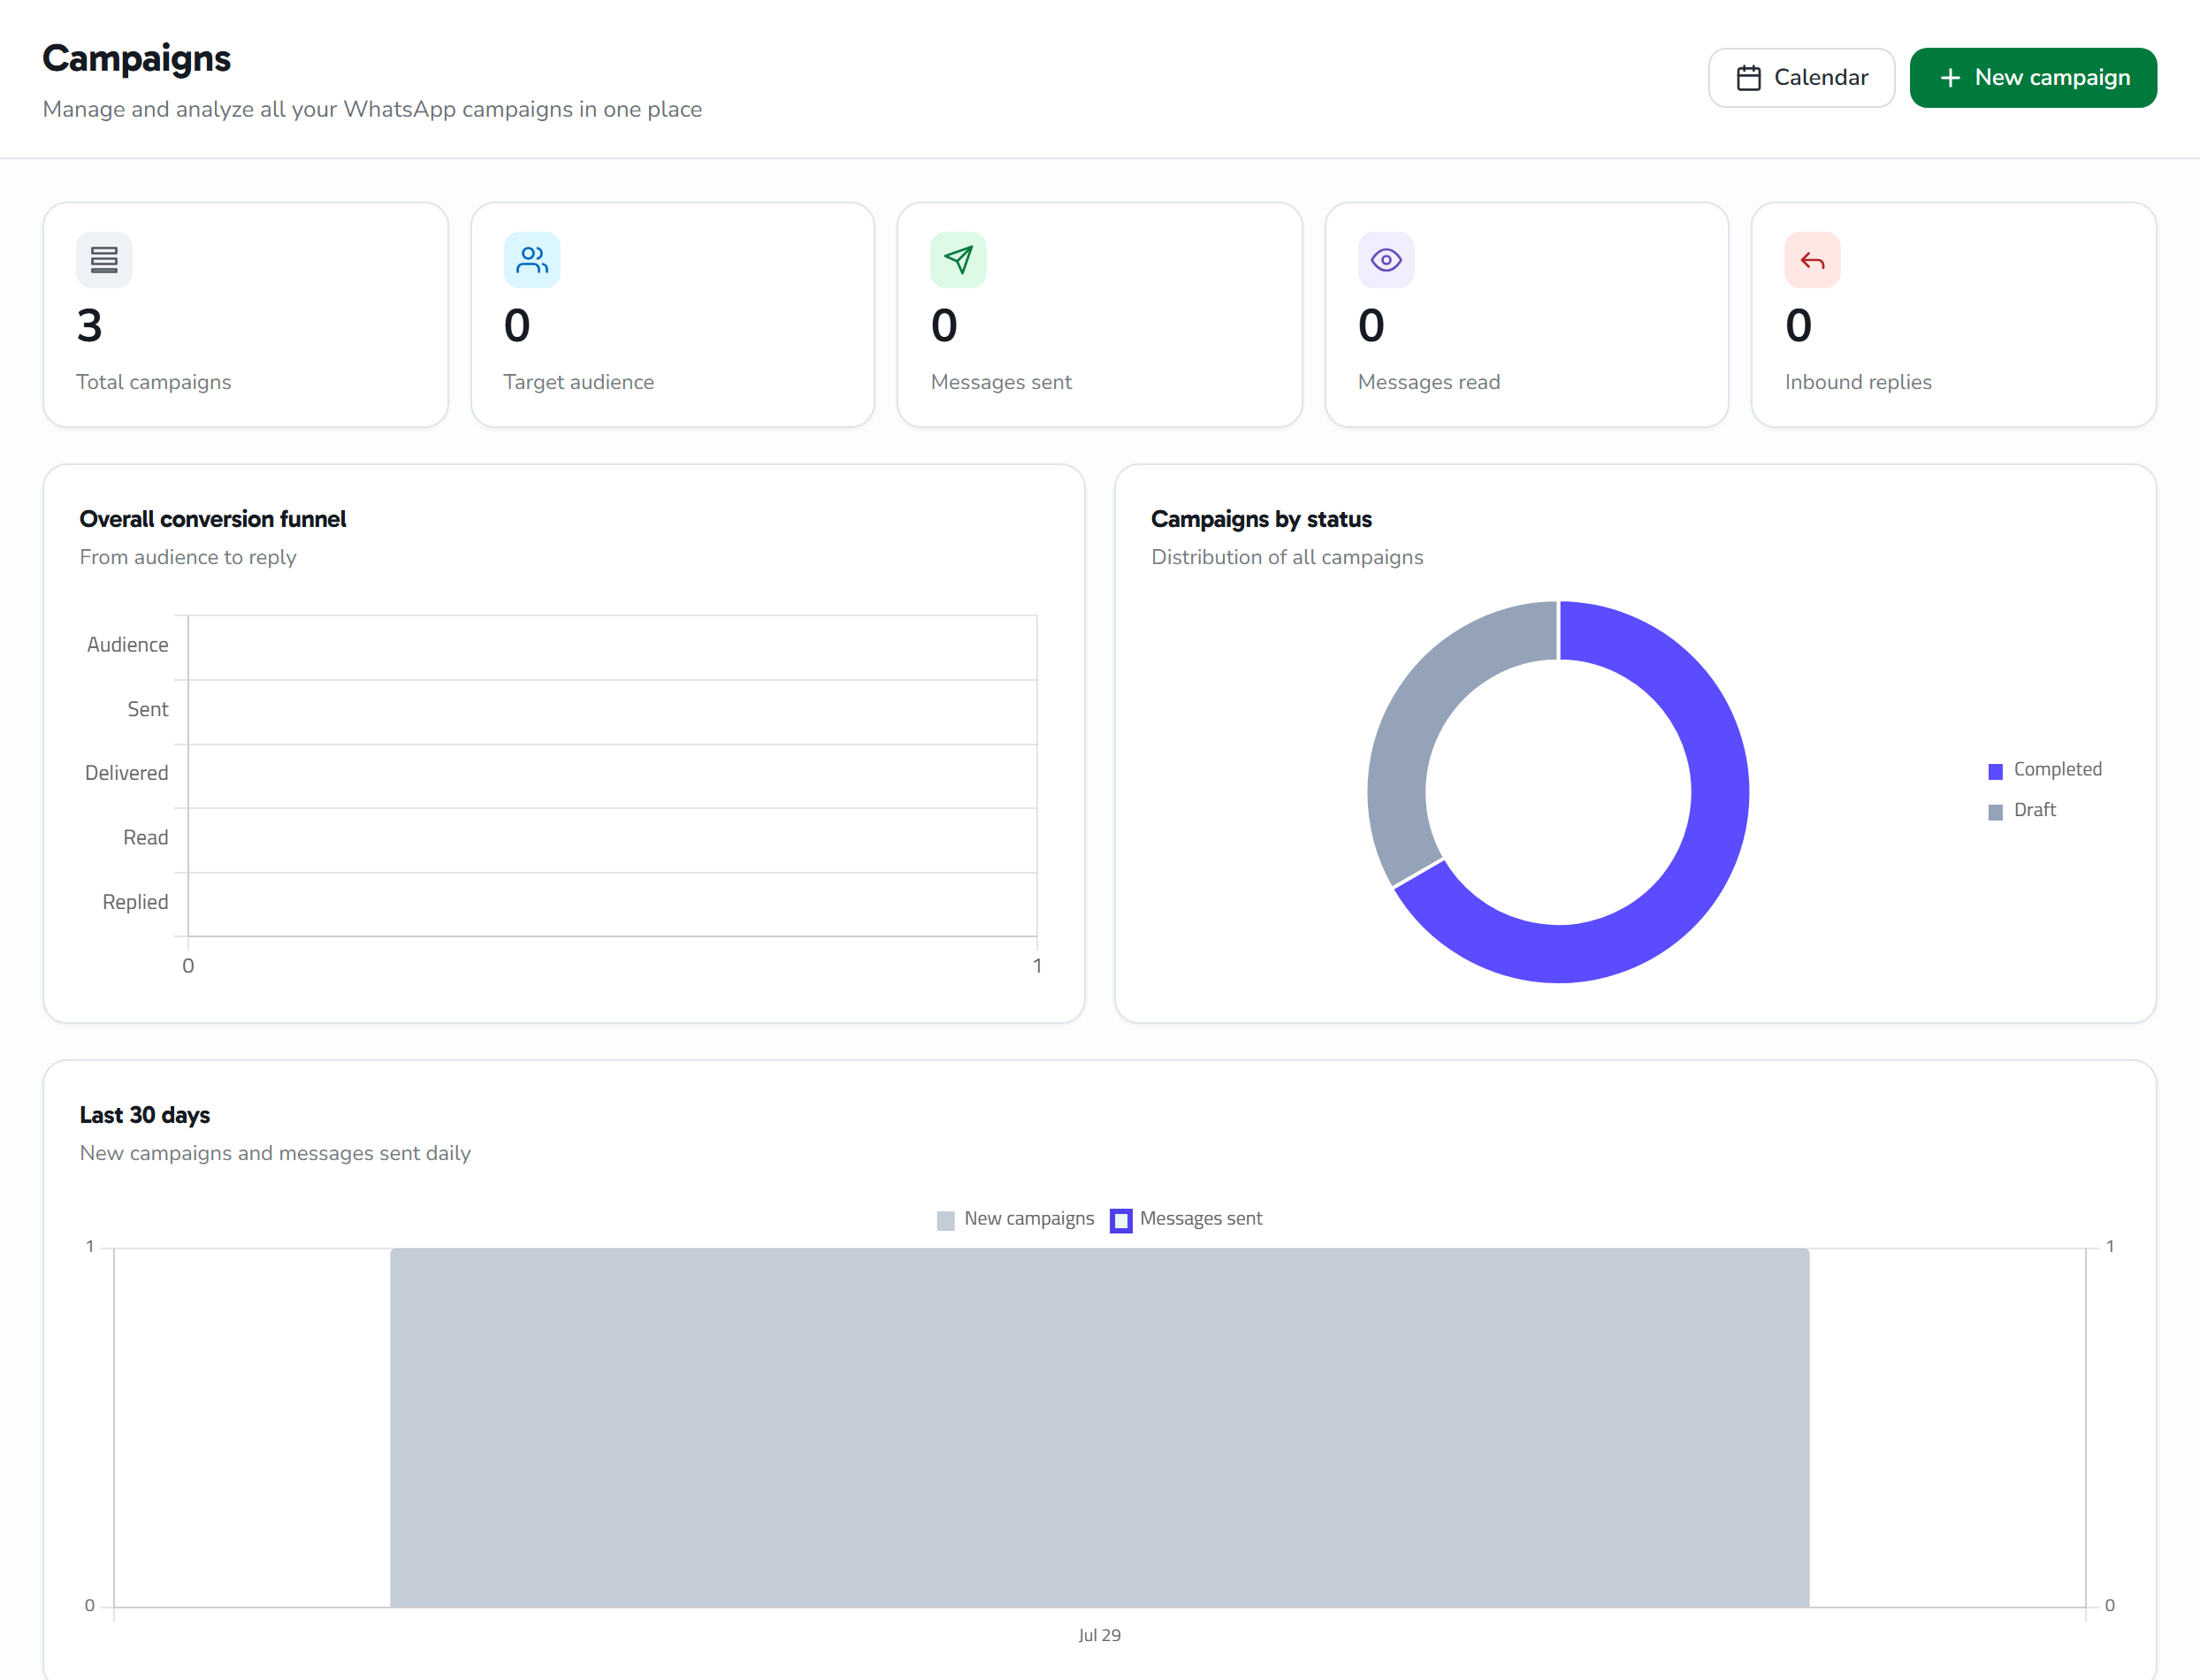
Overview
In WhatsApp Business, you can't send marketing messages without templates pre-approved by Meta. This is a regulation to prevent spam.
The process:
- Create a template in Fynchat + submit it to Meta
- Wait for Meta's approval (minutes to hours)
- Create a contact list
- Create a campaign + choose the template + the list
- Launch the campaign → the messages go out
Step 1: Create a template
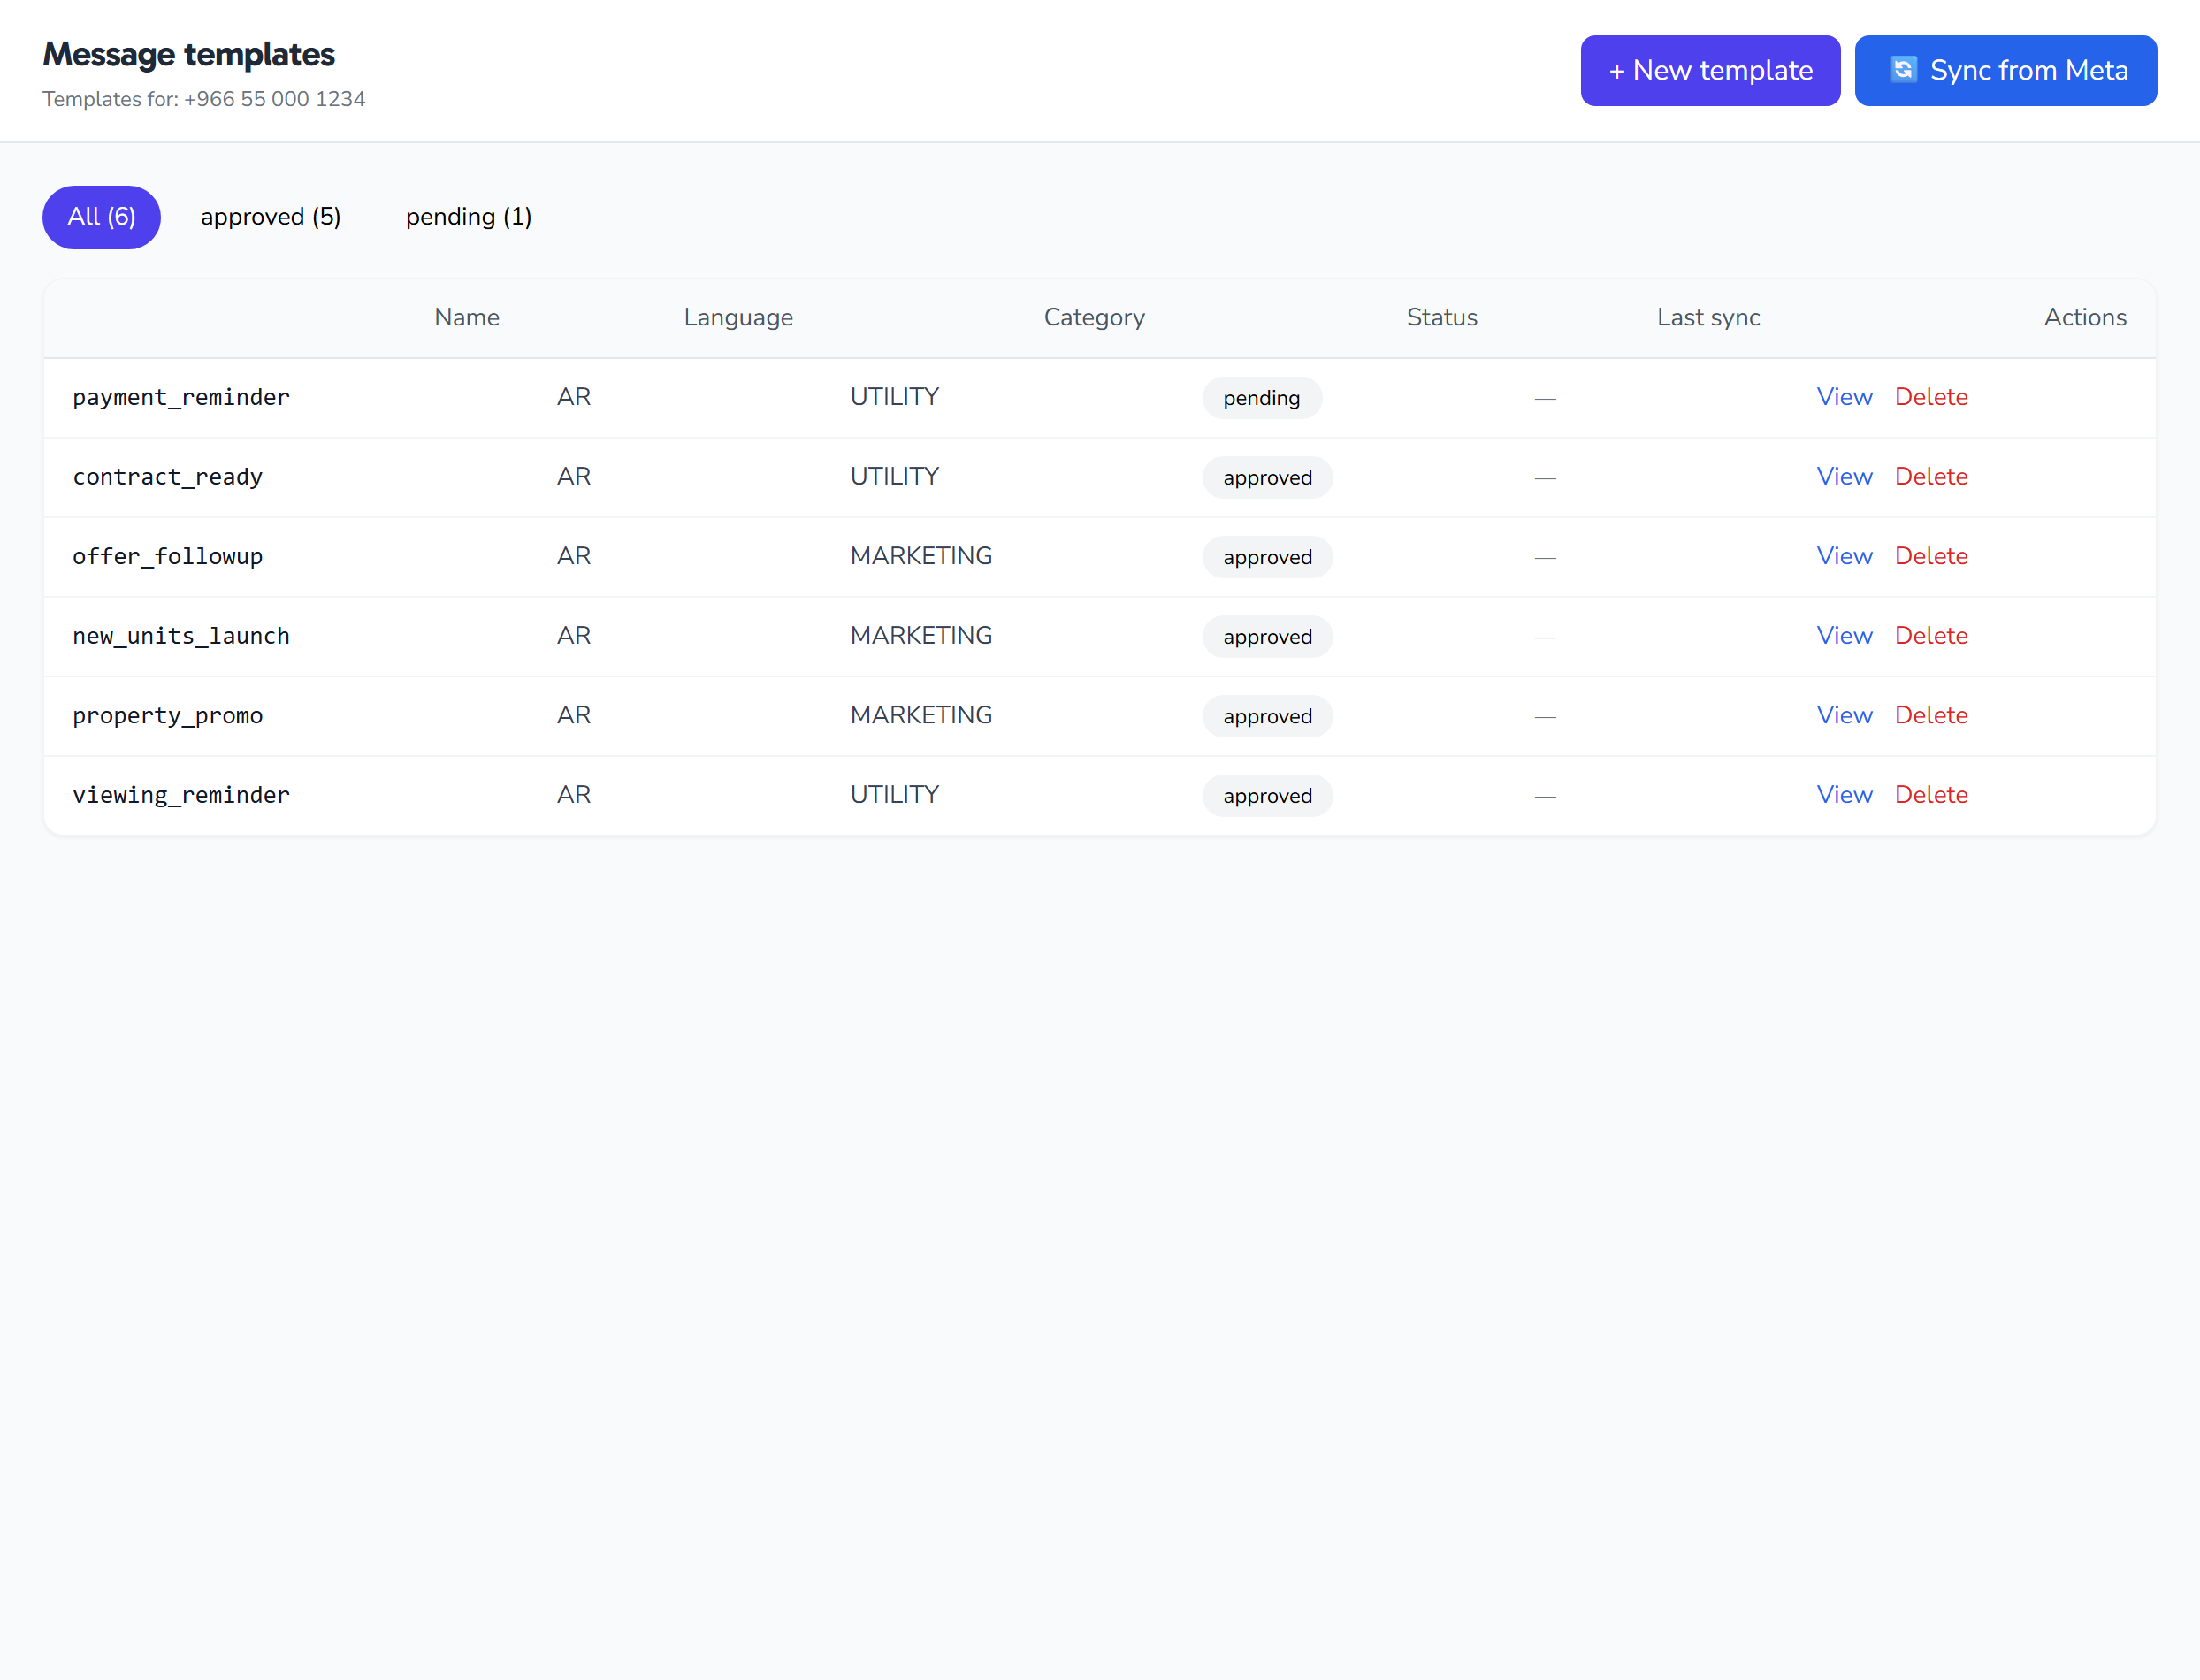
Go to Templates → + New template:
- Template name (English only, lowercase letters, numbers and _):
welcome_offer - Language: Arabic
- Category:
- MARKETING for offers and promotions
- UTILITY for confirmations and alerts
- AUTHENTICATION for verification codes
Template parts:
- Header (optional): text, image (1.91:1), or video
- *Main body : the message text. Use variables
{{1}}{{2}}for personalization - Footer (optional): a short line of text
- Buttons (optional): call button, URL button, quick reply
Example marketing template:
Header: "GAP ASSESSMENT Course" + image
Body: "Hi {{1}}, 20% off our course. Code: {{2}}"
Footer: "Valid until the end of the month"
Button: "Book now" → URL
Click Save → Submit for approval. The status changes to PENDING, and approval usually completes within hours.
Step 2: Import contacts
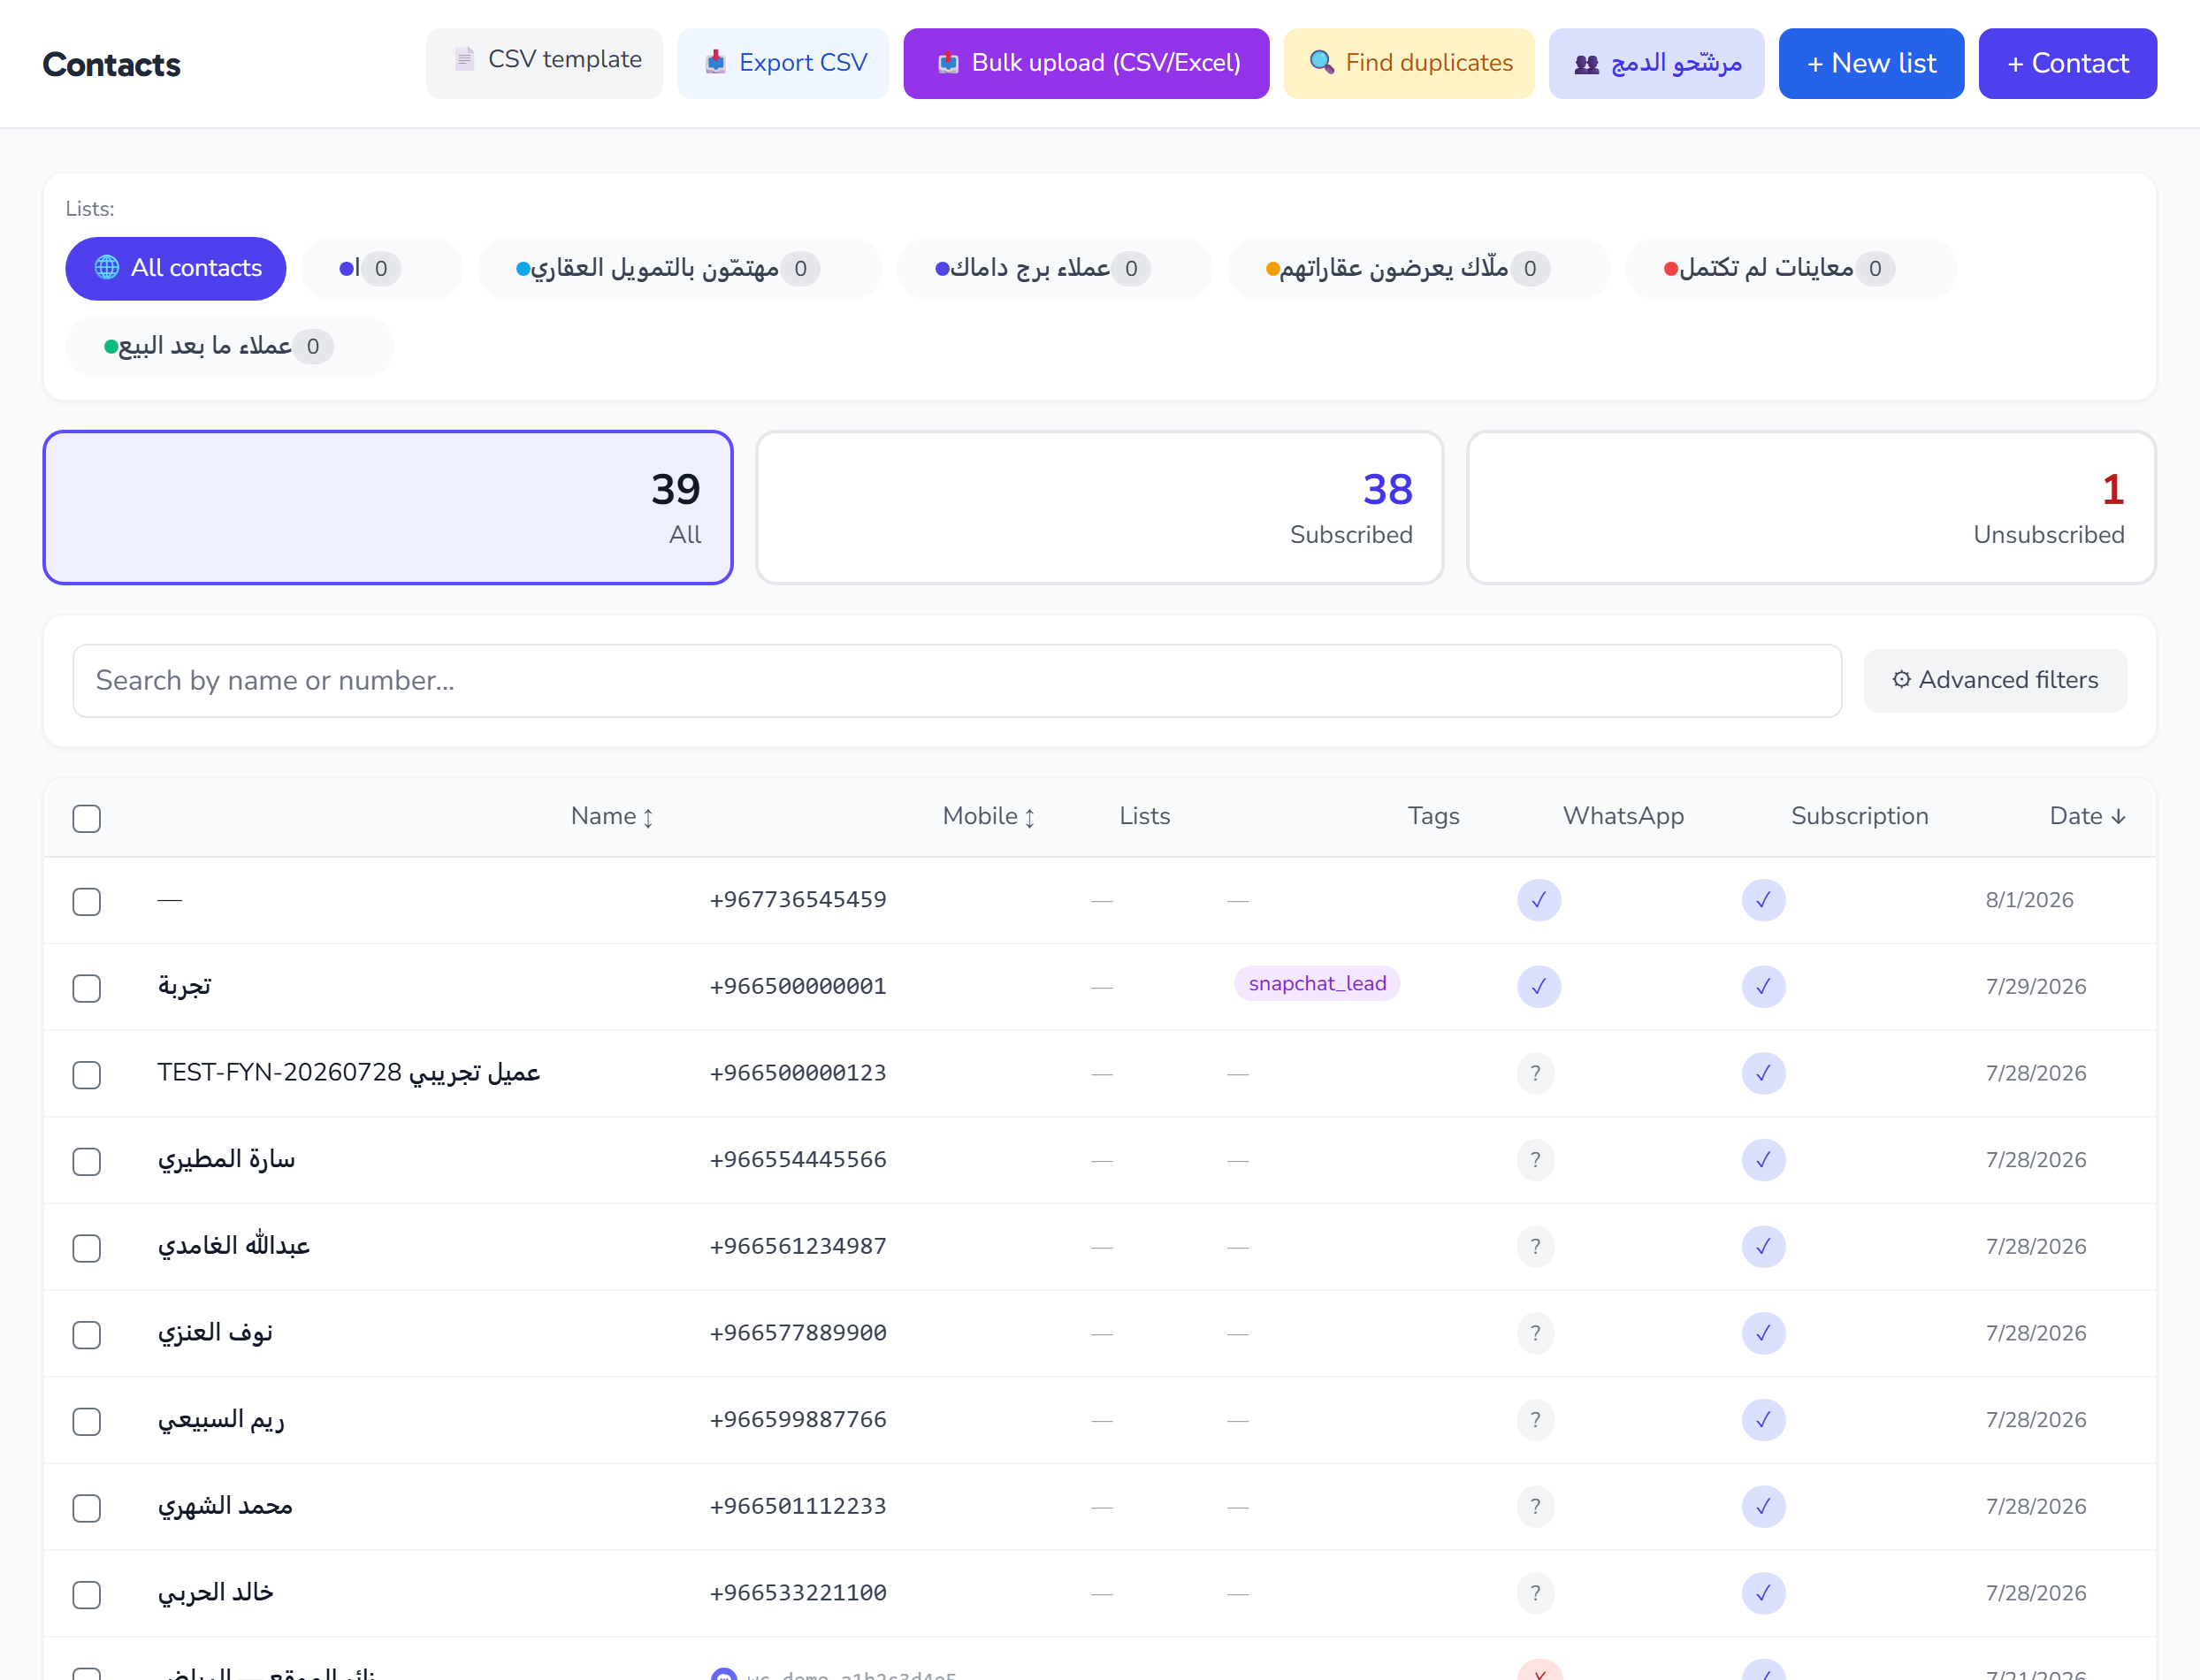
Go to Contacts → Import CSV:
A CSV file with at least two columns:
phone(with country code, e.g.+966501234567)name
Optional: language, tags
Click Upload → the system validates the numbers.
Step 3: Contact list
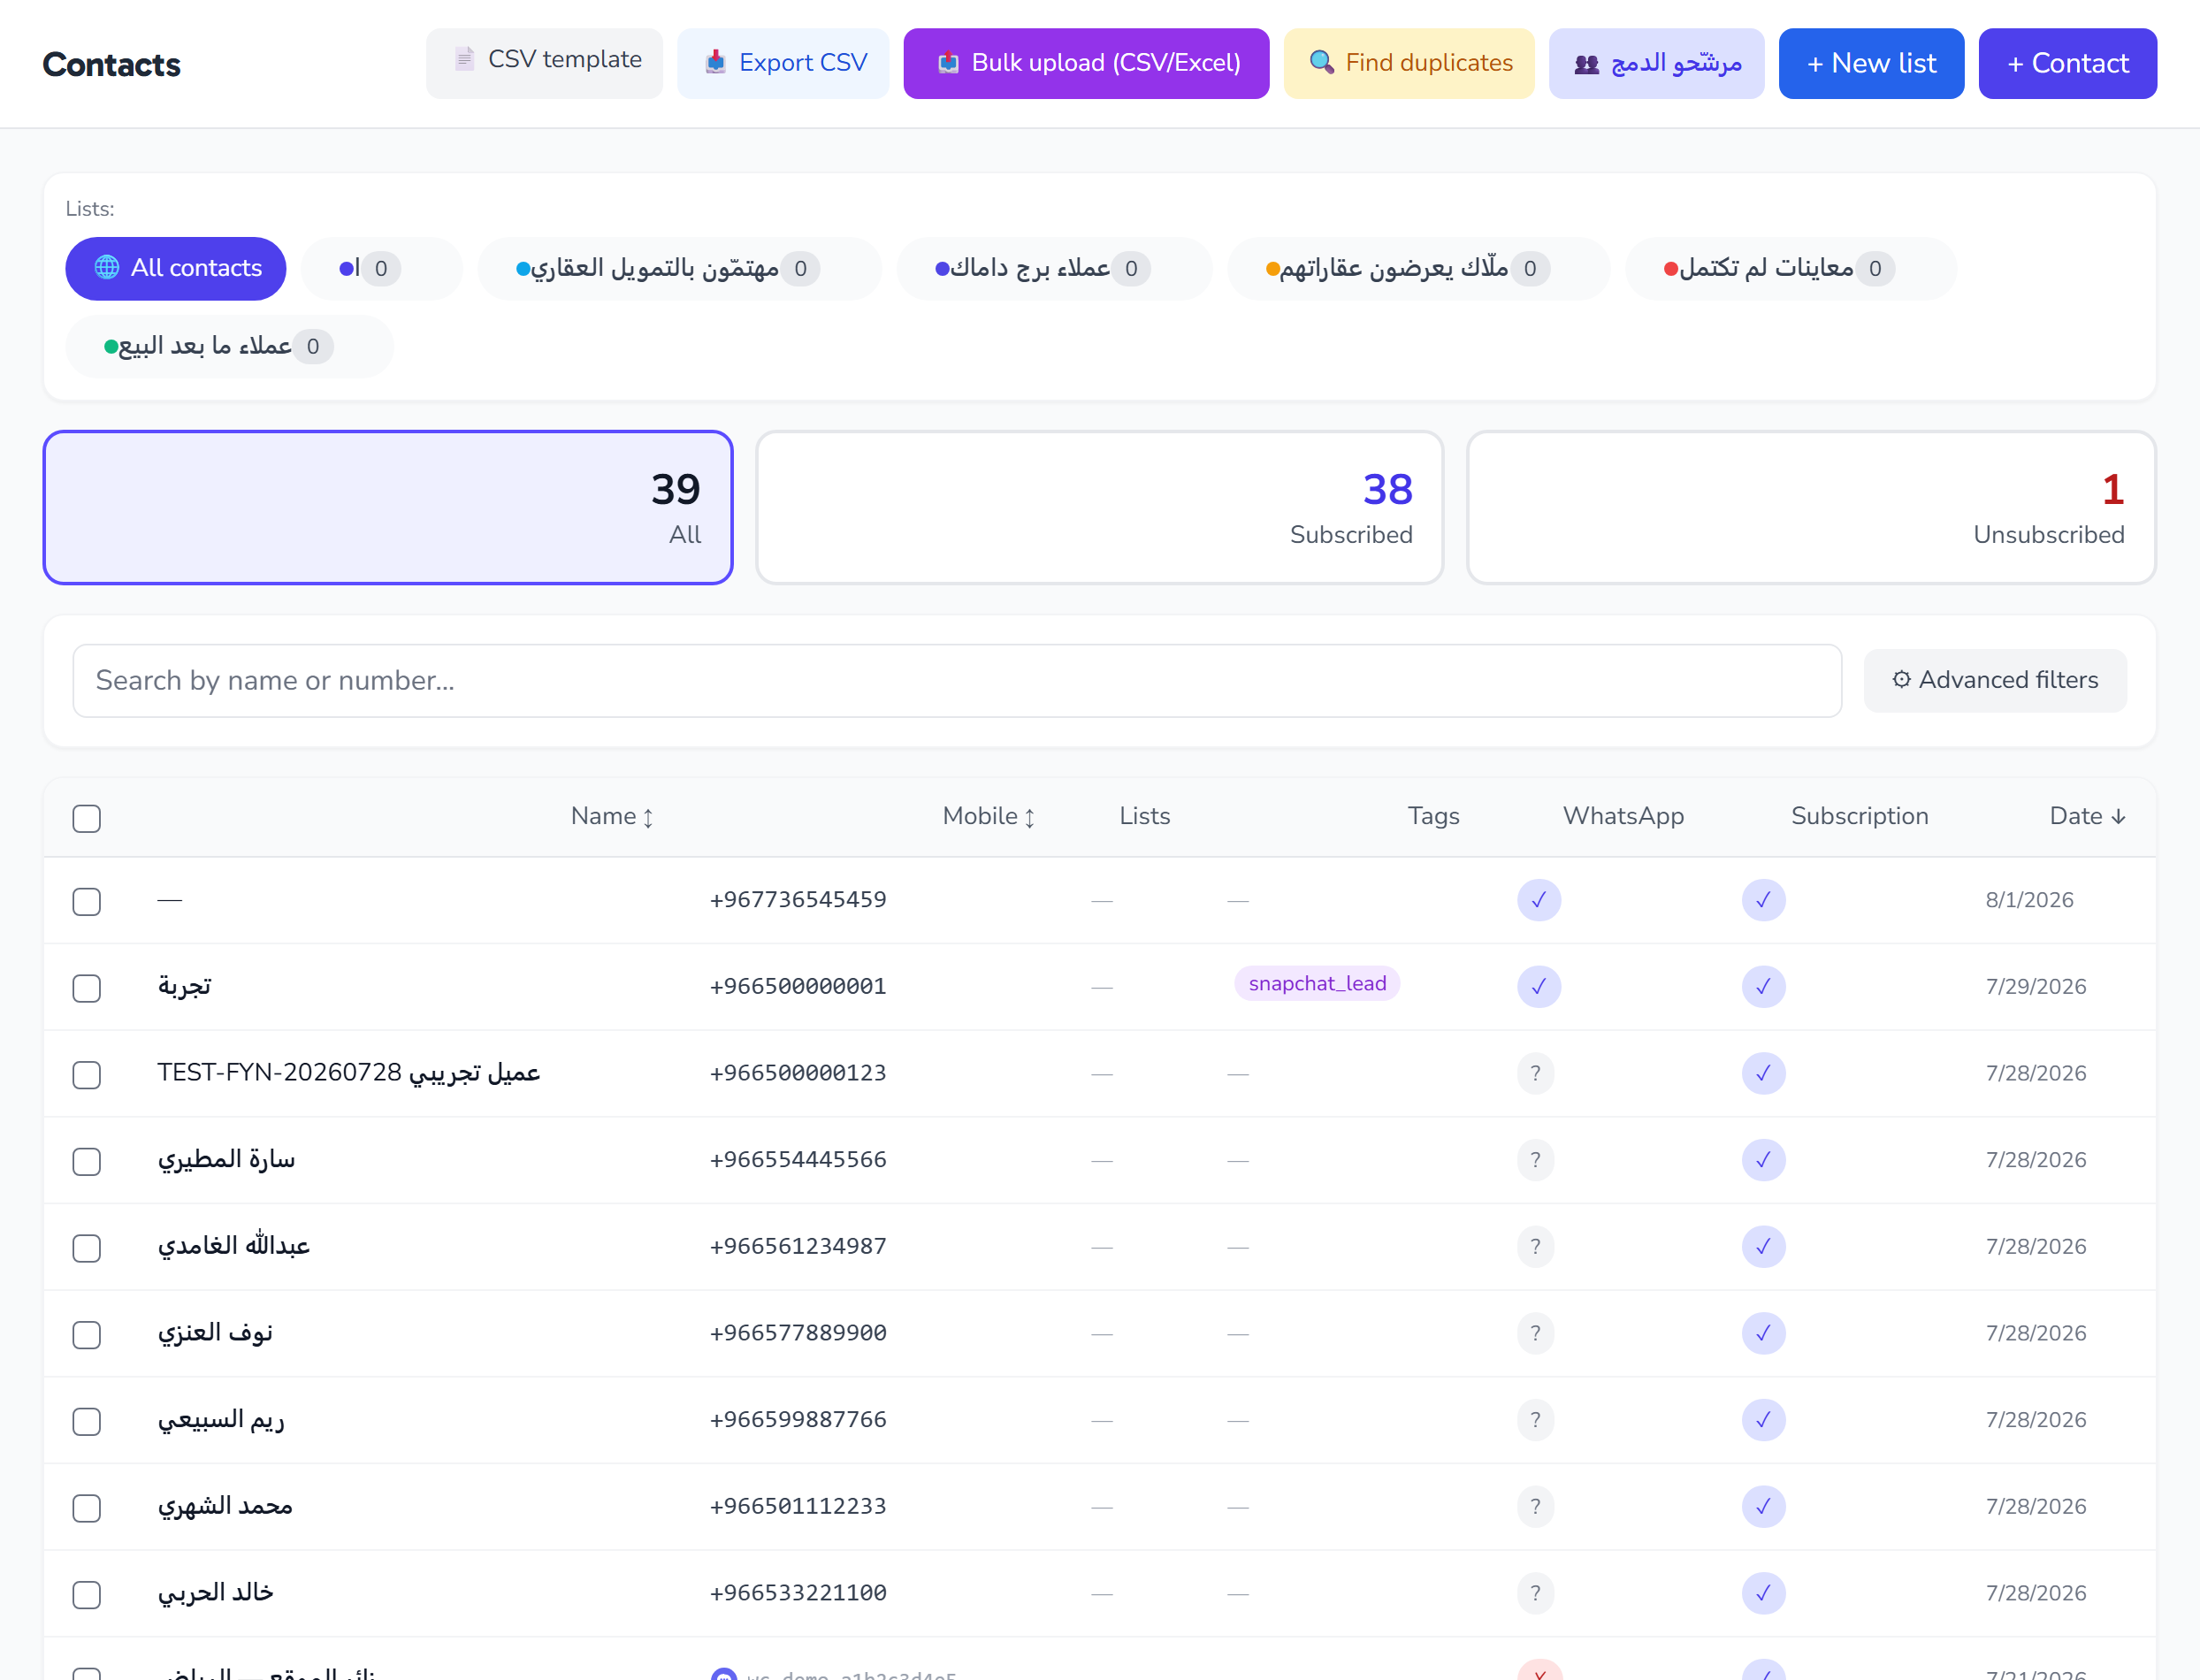
Go to Contacts → Lists → + New list:
- List name:
VIP Customers - A distinctive color
- Select the contacts you want to add
Step 4: Create a campaign
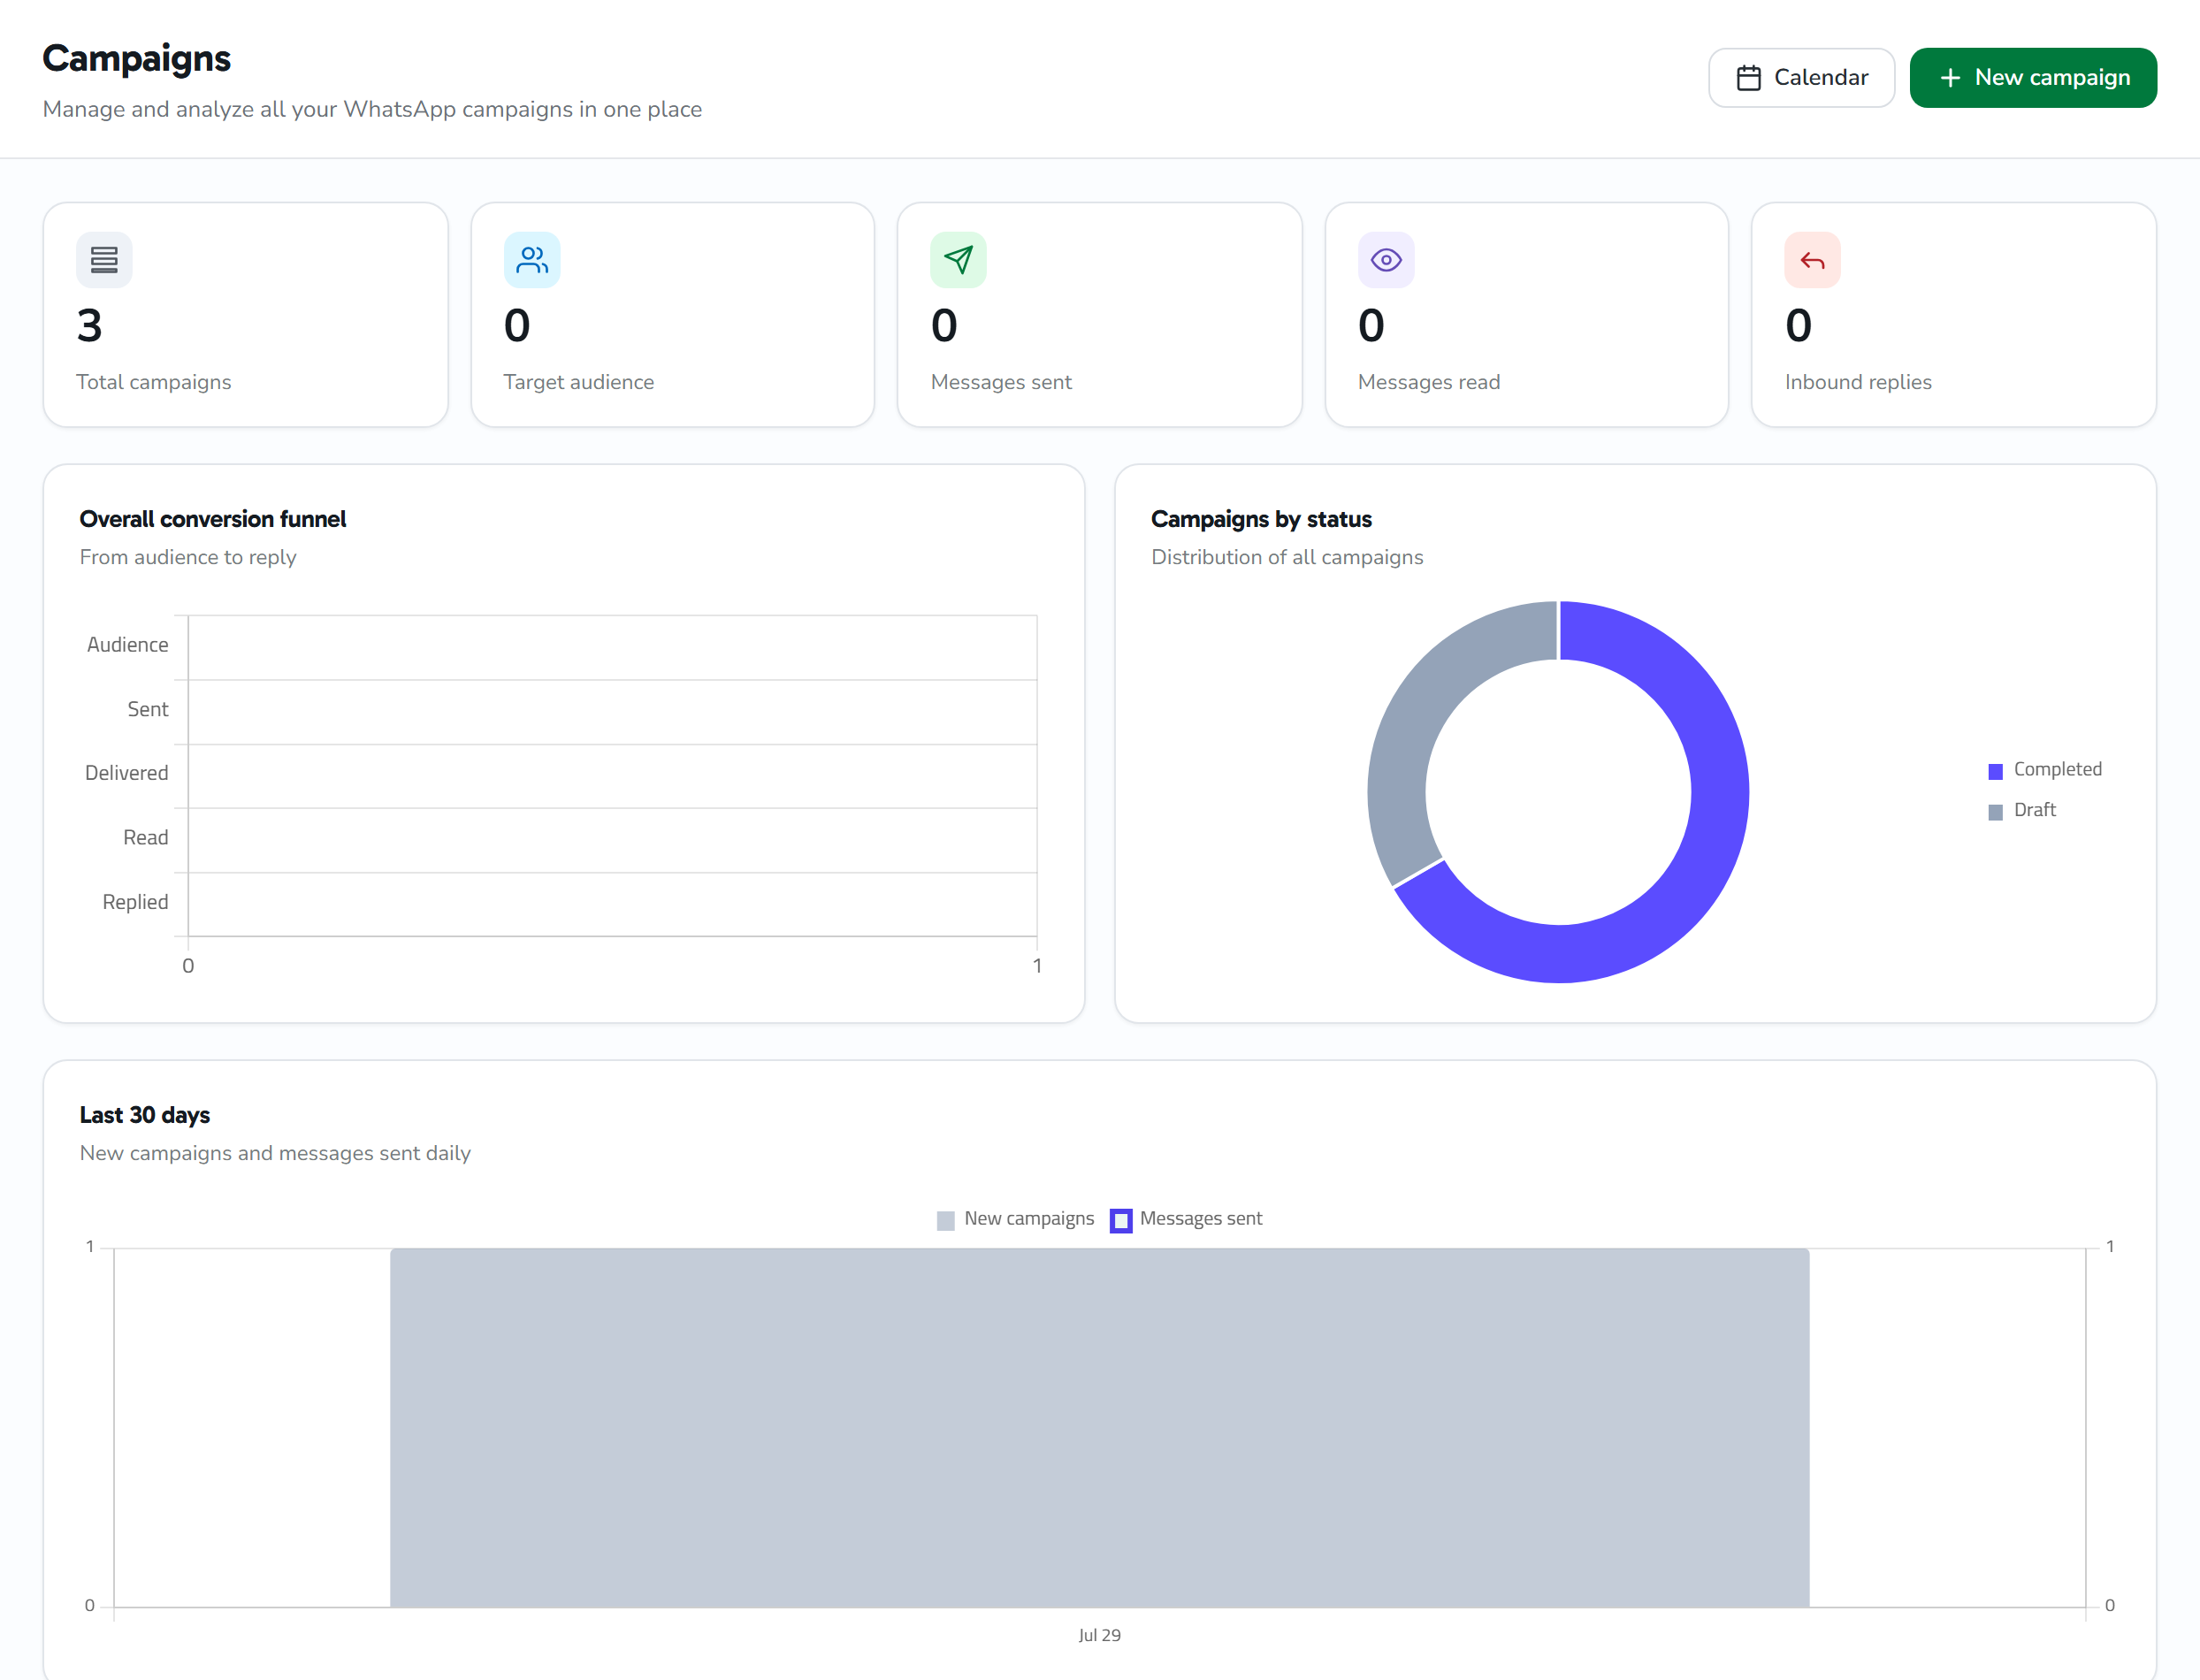
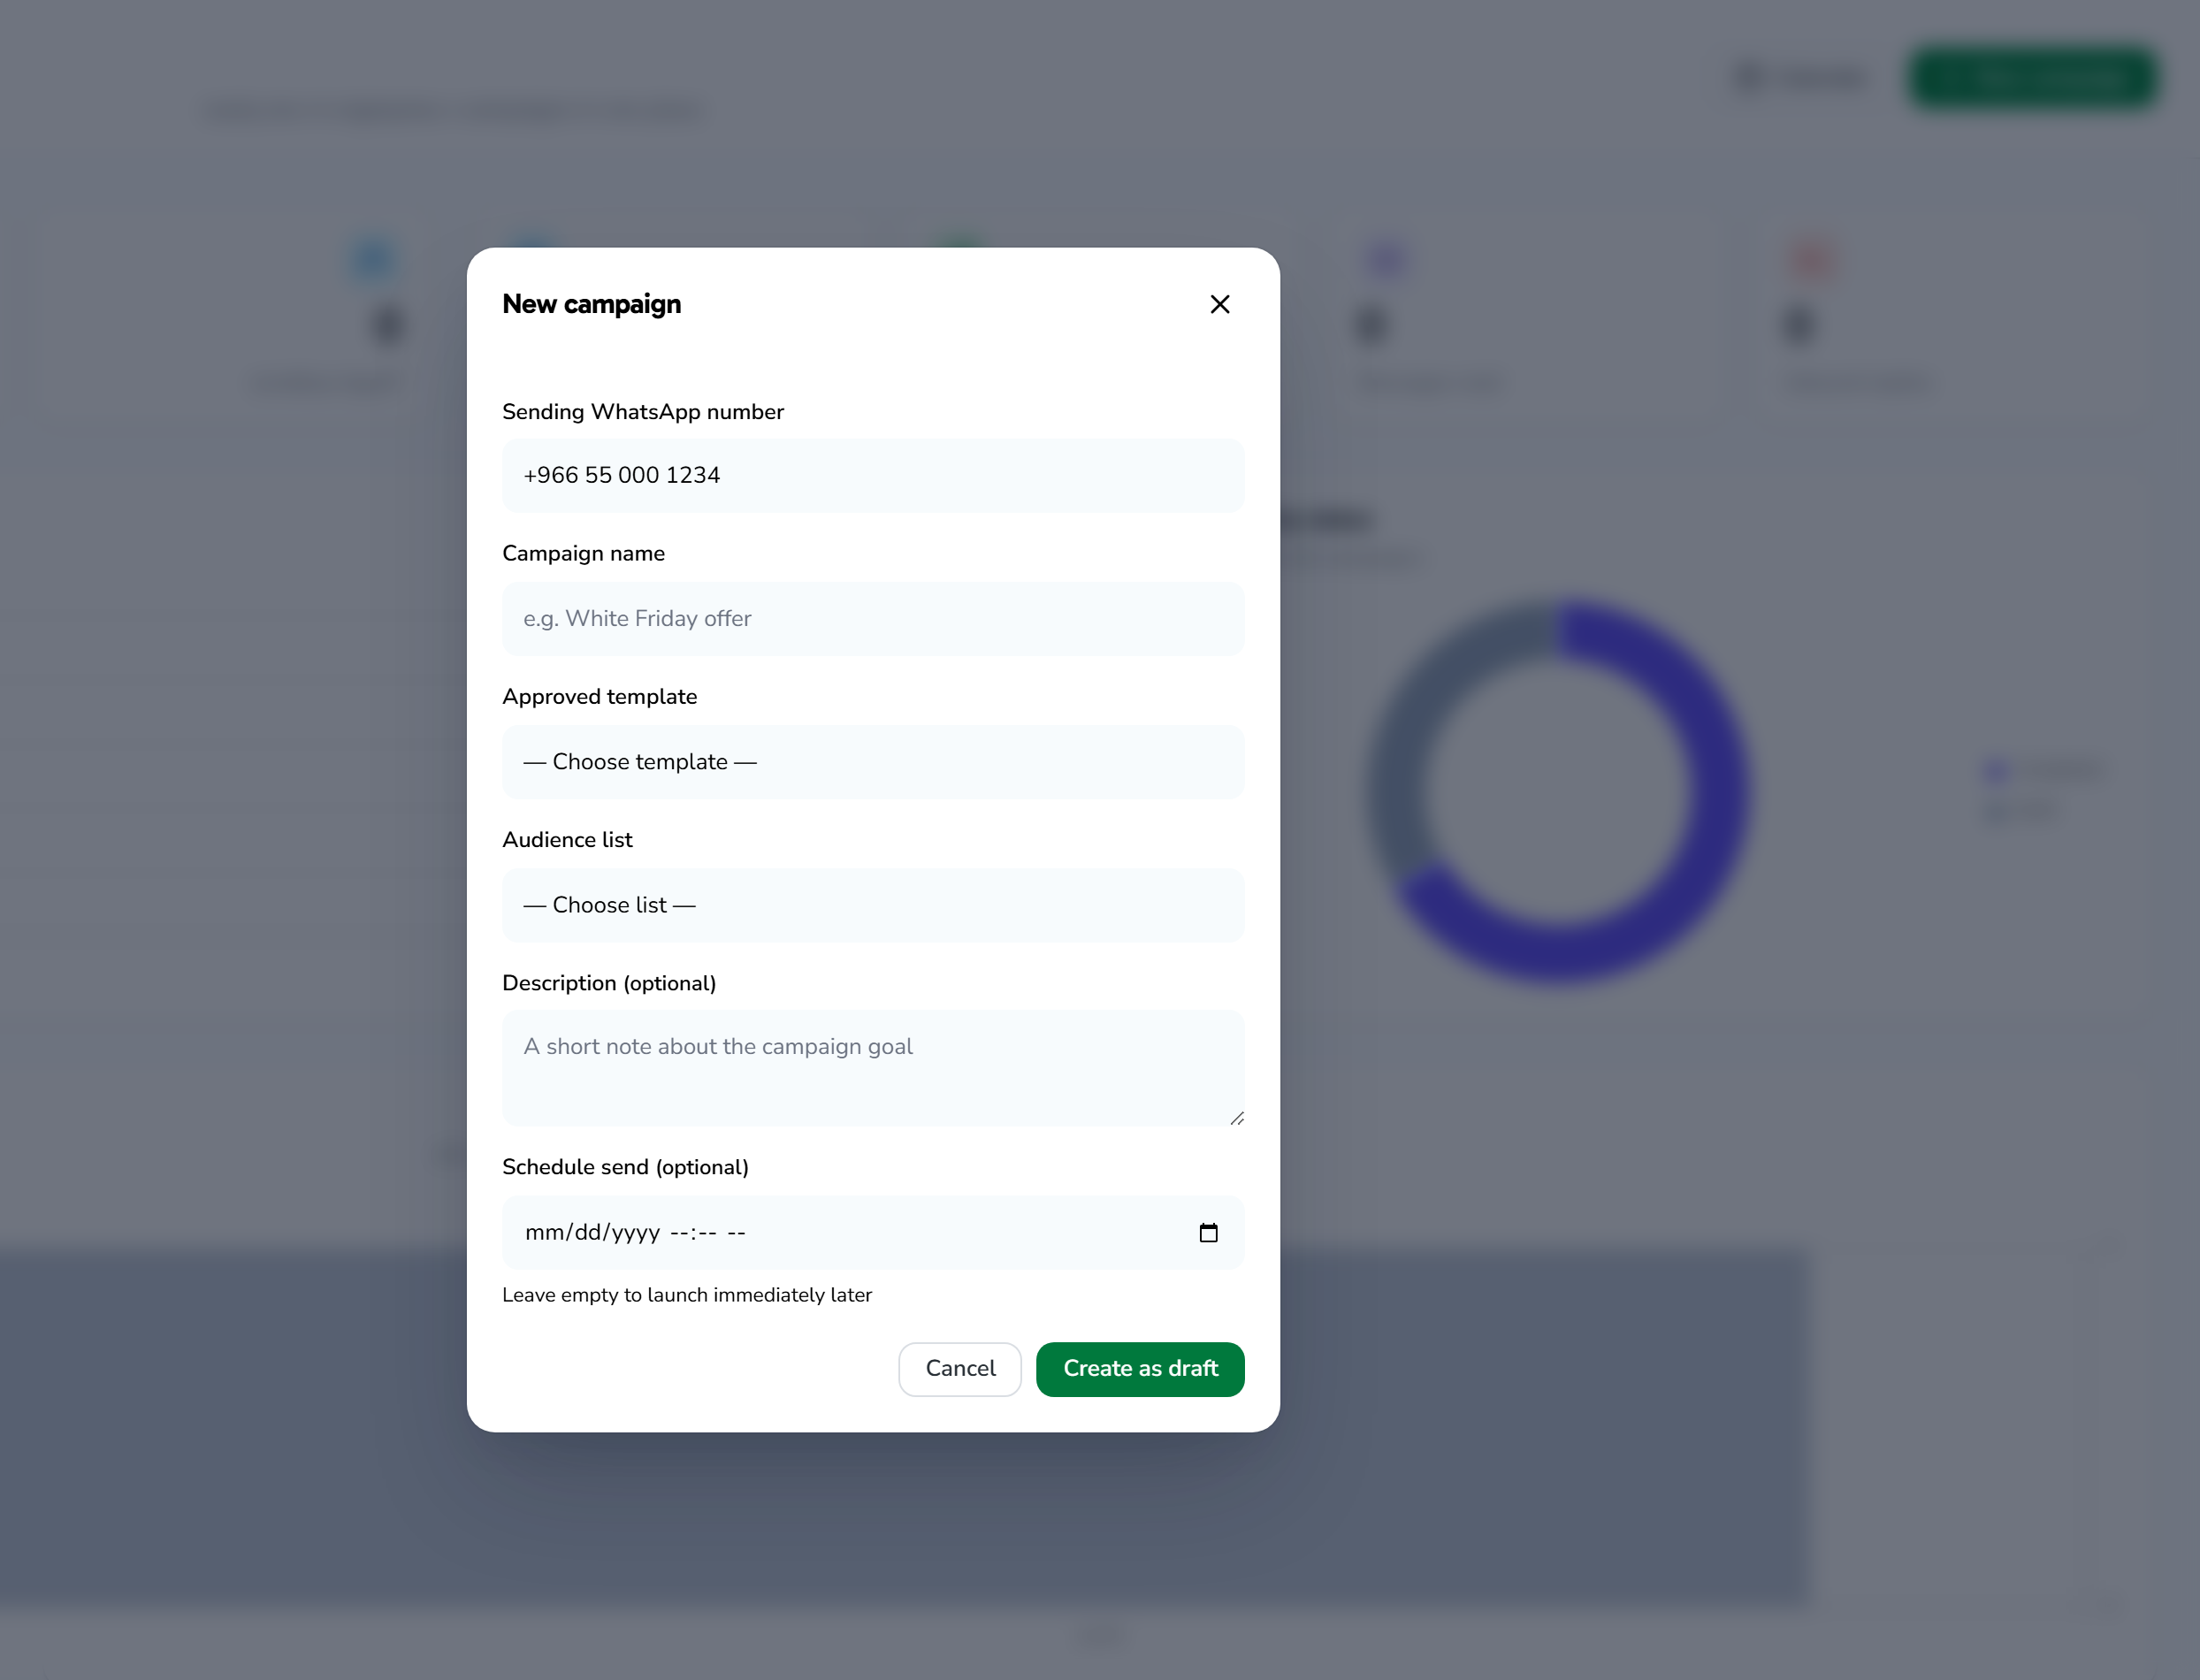
Go to Campaigns → + New campaign:
- Name:
Ramadan Offer 2026 - Template: choose
welcome_offer - List: choose
VIP Customers - Variable values: fill
{{1}}withNameand{{2}}withRAMADAN20 - Upload the header image (if the template contains an image)
- Schedule (optional): choose a date and time
Click Save as draft.
Step 5: Launch
From the campaign details → 🚀 Launch campaign:
- The system paces the messages itself (respecting Meta's limits)
- You'll watch the progress in real time
- Results: sent / delivered / opened / failed
Tips
- Test the template first by sending a manual message to your number from the Inbox
- Start with a small list (10–20 people) before sending to thousands
- Avoid heavy sending without engagement — Meta may rate-limit your account
- Monitor the open and reply rate — if it's below 10%, there's a problem with the template or the audience