 Fynchat
Inviting and managing team members
Invite new members from the Team page, organize them into permission groups, and manage their roles — for owners and admins only.
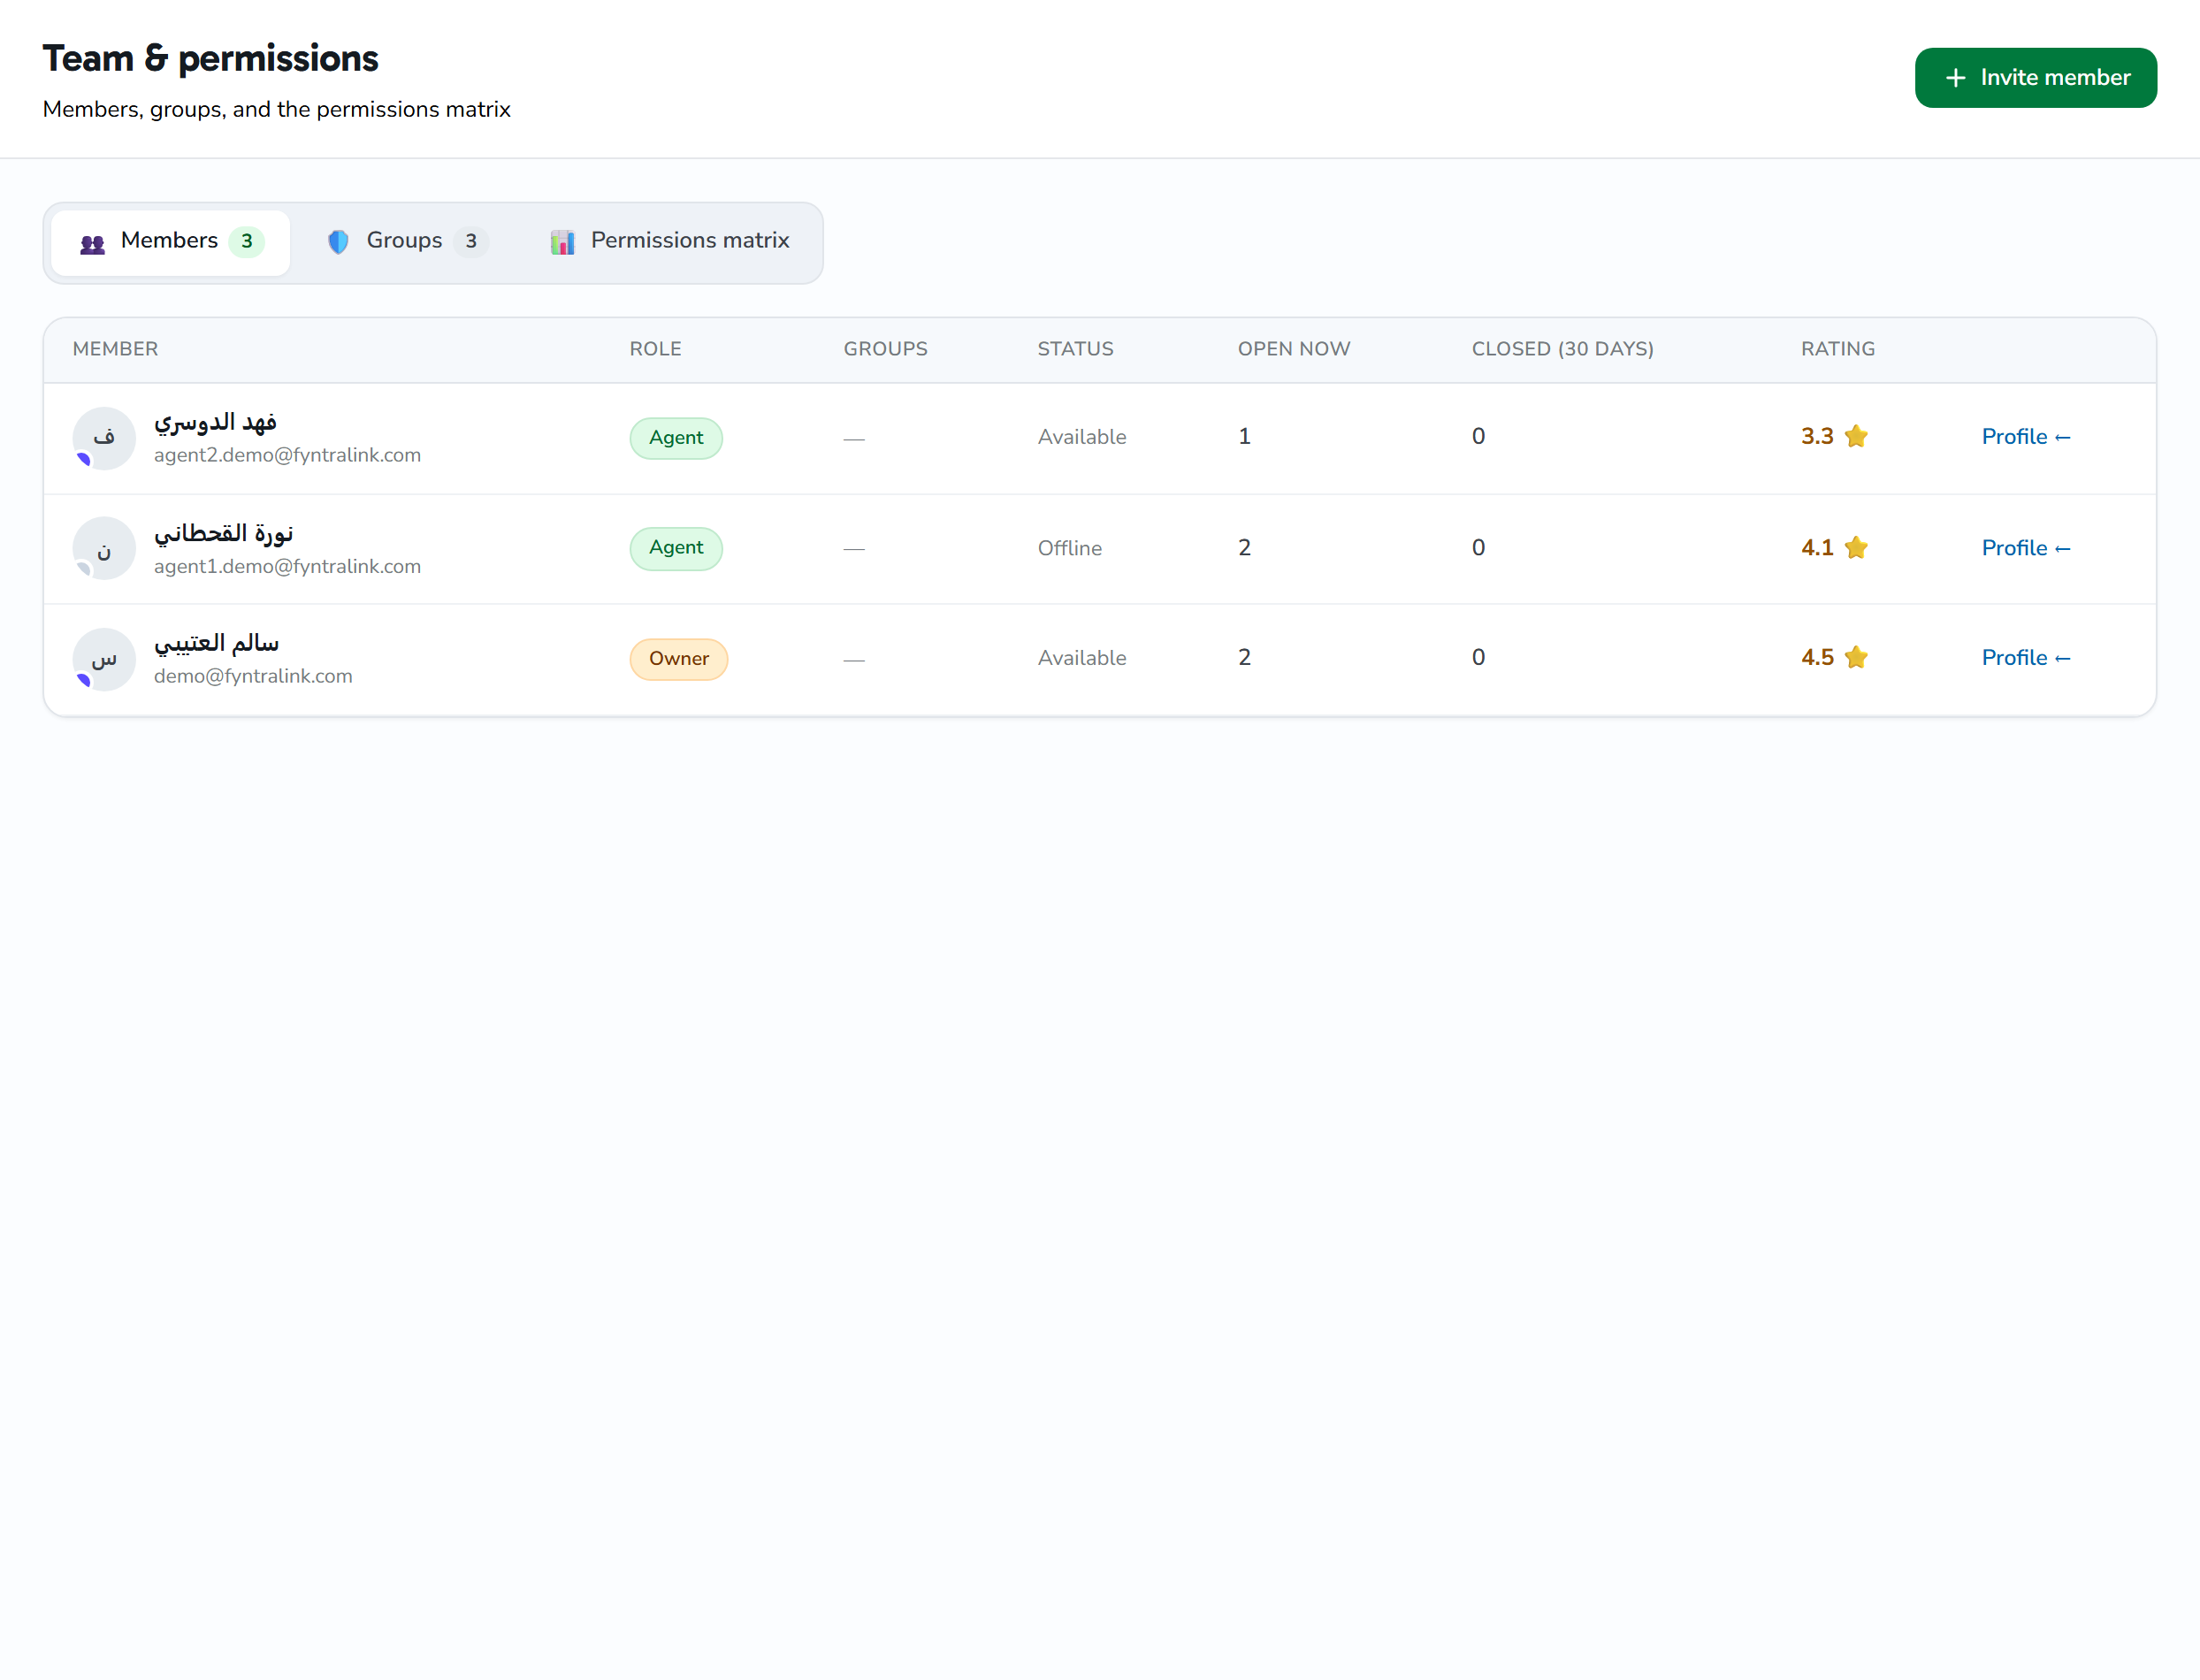
The Team page
The Team page (/team) is where you manage the users on your account: from here you invite new members, follow their activity, organize them into permission groups, and review who holds which permission. The page is split into three tabs:
- Members — a table of every user on your account (with a count of how many).
- Groups — permission-group cards, with create and edit (with a count of how many).
- Matrix — a read-only grid showing which group holds which permission.
Access note: the Team page is available to the owner and admins only. If an agent opens it, they see a message that the Team page is for admins only. Managing groups, assigning members, and editing permissions each require additional permissions, spelled out in the relevant sections below.
For the full breakdown of what each role can do, see the Team roles and permissions article.
Invite a new member
The Invite button at the top of the page opens the invite dialog, where you fill in three fields:
| Field | Required? | Notes |
|---|---|---|
| Name | Yes | The new member's display name (up to 255 characters). |
| Yes | The invitation is sent here; it must be unique and not already used on another account. Entered left-to-right, e.g. [email protected]. |
|
| Role | Yes | Agent by default, or Admin. Only these two are selectable at invite time (you cannot invite an Owner). |
After you send it:
- A pending account is created for the member, with a random, unusable password.
- They receive an invitation email containing their own activation link.
- The link is valid for 7 days, and through it the member sets their own password and completes activation of their account.
- Once the invite succeeds, the members list refreshes automatically and the new member appears in it.
Seats: invitations count against the seats on your plan. If you've reached your seat limit, the invite is blocked and a message shows your plan's limit and used seats, with the hint: "You can buy additional seats from the billing page."
Members list (Members tab)
The Members tab is a read-only table of every user on the account, ordered by role, then name. For each row:
| Column | What it shows |
|---|---|
| Member | Avatar + name + email + a colored presence dot |
| Role | A colored role badge: owner / admin / agent |
| Groups | Badges for the permission groups assigned to the member |
| Chat status | Presence indicator (see below) |
| Open conversations | Count of their currently open conversations |
| Closed (30 days) | Count of conversations they closed in the last 30 days |
| Average rating | Their average customer rating (stars) |
| Profile | A link that opens the member's profile |
Role badge
There are three roles, shown as colored badges: Owner, Admin, and Agent. Owner is display-only here; the two roles you can assign via invite or edit are Admin and Agent only.
Presence status
Next to each member is a read-only presence indicator with four states, shown as a colored dot on their avatar and as text:
- available — green
- busy — amber
- away — gray
- offline — light gray
This indicator reflects the member's chat presence only; it is not a control for enabling or disabling the account.
Member profile
The Profile link on a member's row opens their profile, with a detailed view: performance indicators, current conversations, activity, logins, and their permissions (RBAC). Per-user settings are managed from the profile.
Assign the member to groups
You connect the member to one or more permission groups, inheriting their permissions. Two rules keep the account safe:
- At least one owner always remains in the Owners group.
- Only the owner can grant membership in the Owners group.
Assignment requires the
team.assign_groupspermission and the actor being an admin.
Per-user permission overrides
Alongside the group permissions, you can set an individual override for a specific permission for this member:
- Grant the permission explicitly, or
- Deny it explicitly, or
- Reset it to the default (remove the override).
You cannot grant a permission you don't hold yourself.
This requires the
team.manage_groupspermission and being an admin.
Changing a role and removing a member
From the members list, the direct per-row action is Profile (opens the member's profile). Changing a role or removing a member are governed by strict rules that protect the account:
Changing the role (between Agent and Admin):
- The owner's account is protected — no other member can edit it.
- Only the owner can edit admin accounts or promote a member to Admin.
Removing a member:
- Removal is permanent (a full deletion of the account).
- You cannot remove the owner, and you cannot remove yourself.
- Only the owner can remove admin accounts.
There is no "disable" or "suspend" option for an existing member; the options are invite (self-activation with a password), change role, or permanent removal.
Groups and permissions (Groups tab)
Permission groups (RBAC) are the organized way to grant permissions: instead of setting each permission per user, you bundle permissions into a group and then assign users to it. The tab shows a card for each group, a button to create a new group, and editing for existing ones.
The create/edit dialog contains:
| Field | Required? | Notes |
|---|---|---|
| Name | Yes | The group name (up to 100 characters). |
| Color | — | Chosen from 9 preset colors; the default is green. It sets the group card's color and its column color in the matrix. |
| Description | No | Optional text describing the group's purpose (up to 500 characters). |
| Icon | — | Saved with a default value (users); there is no icon picker in the dialog at present. |
| Permissions | — | Select the group's permissions (see below). |
Selecting permissions
Permissions are shown as a checkbox matrix grouped by module; clicking a module's header row toggles all of that module's permissions on or off at once, and each module shows a selected-count. The fifteen modules are:
inbox · campaigns · templates · contacts · lists · flows · forms · whatsapp · team · billing · settings · reports · booking · shop · real_estate
On save, the group's permissions are replaced with the set you selected (not added on top of the old ones).
Protected groups
- The Owners group is protected: its Edit button is disabled, and attempting to edit it is rejected with a "the Owners group is protected" message.
- System groups cannot be deleted (no Delete button is shown for them).
- Deleting any group asks for confirmation first.
Creating, editing, and deleting groups requires the
team.manage_groupspermission.
Permissions matrix (Matrix tab)
The Matrix tab is a read-only grid pairing permission rows (grouped by module, each permission showing its Arabic name and its key) against group columns. A ✓ appears where a group holds that permission. The Owners group is always shown as holding every permission.
Use this tab for a quick review of who holds what — without any direct editing from it.
Tips
- Start by defining clear groups (such as a support team or a sales team) and assign users to them instead of setting every permission by hand.
- Use the description and color to tell groups apart visually in the cards and the matrix.
- Review the matrix periodically to make sure each group holds only what it needs.
- Remember that removal is permanent; if a member might return later, consider changing their role instead of deleting them.
- If you're out of seats, add seats from the billing page before sending new invitations.